Hi!
Welcome to my blog, My Chubby Fingers, and my first post. I am a crafter and a baker. I have had this blog for a while but just started to use it. You may have already met my mum, Mrs Green Fingers. She will do gardening posts.
Anyway, today I will be showing you how to make 2 simple origami bookmarks as shown below:

There is a woven bookmark using a strip of paper and a corner bookmark using a square piece of paper.
The first bookmark is a corner bookmark.
You Will Need
- A square piece of paper
- A book

Start with a square piece of paper,

And fold in half diagonally.

Then fold up the corners like shown above and below.

Then fold the top corner down to the bottom edge.

Then refold the corners up.


Then tuck those corner into the pocket you just made.


Ta Da!!!! Done! If you like, you can tuck the flappy triangle into the other triangle to have a triangle bookmark instead of a square one!


Now for the woven bookmark!
You Will Need
- A strip of paper
- Scissors

Fold the strip of paper in half
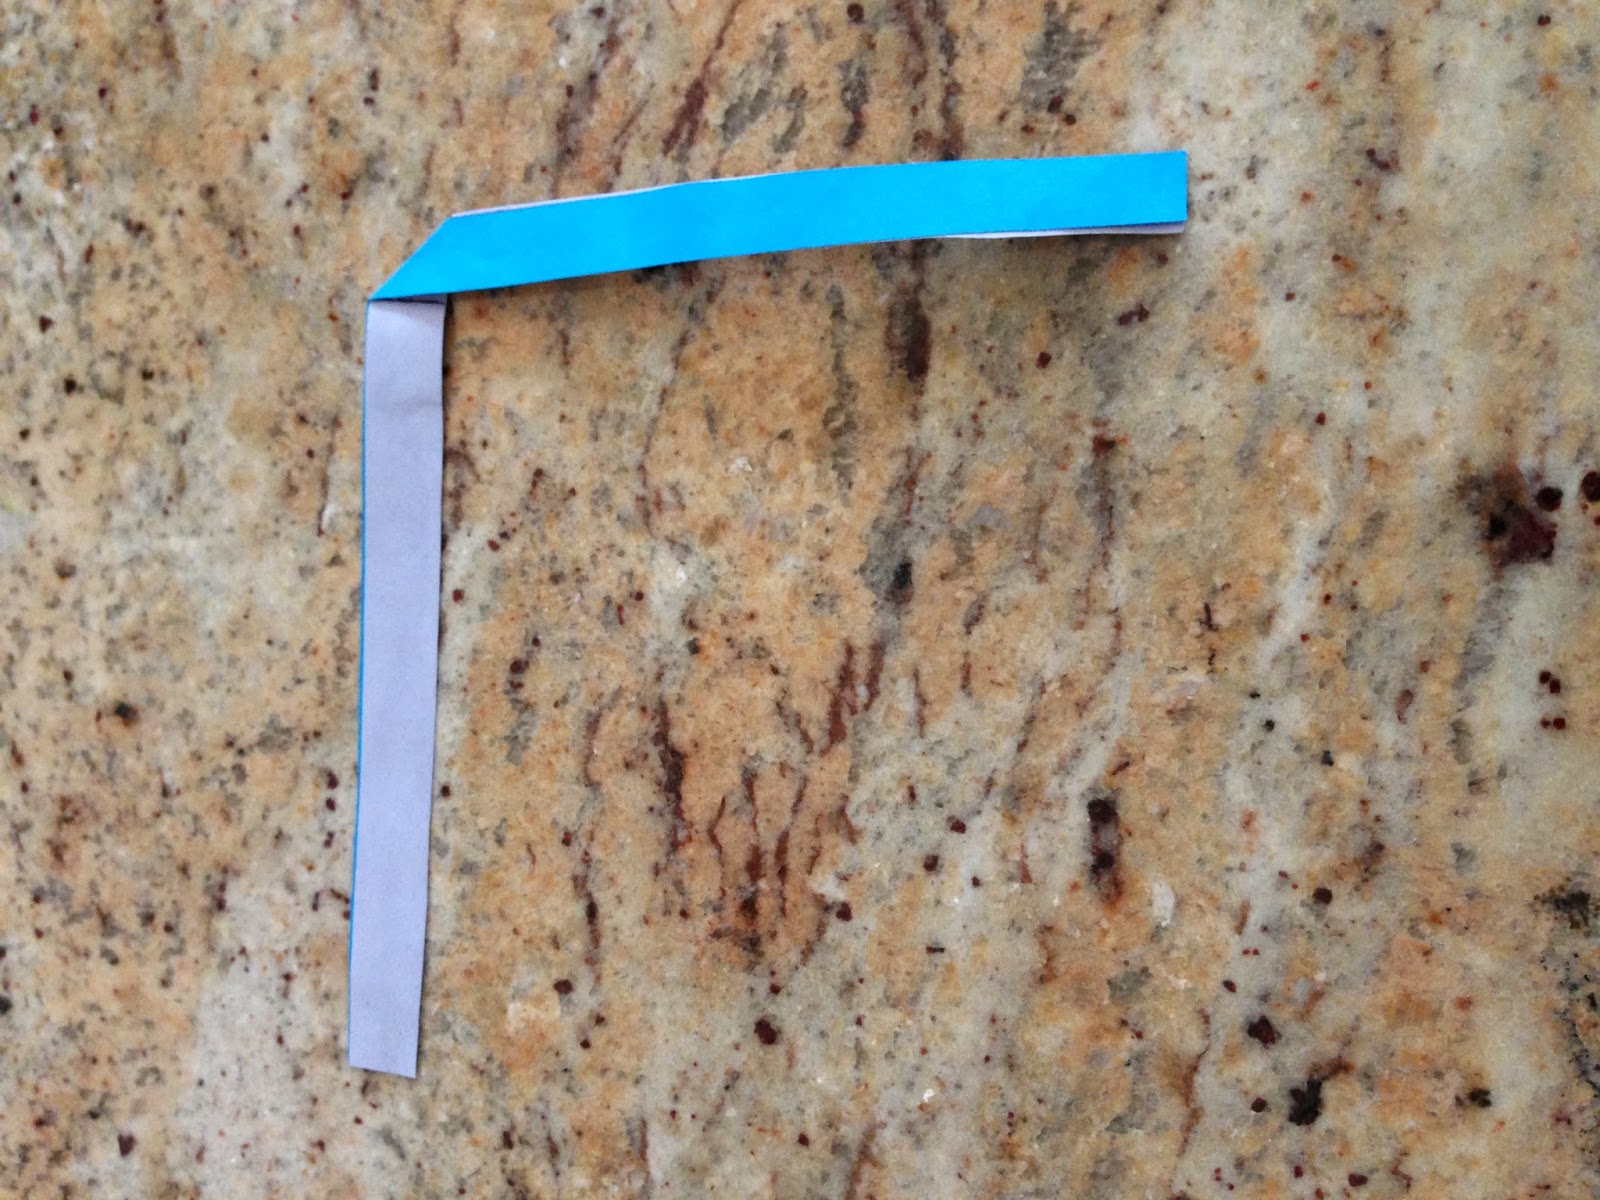
Unfold and fold half the paper down on that crease at a 45° angle.

Then fold that part of the page down again at a 45° angle.

Flip the page round.

Then fold that piece of paper down again at another 45° angle.

Put that last folded strip behind the other strip.

Now you just repeat. So you fold the piece of paper down at a 45° angle.

Then flip.

Fold the strip down at a 45° angle.

And put behind the other strip.

Fold the strip down at a 45° angle.

And flip.

To finish of, you trim the ends and slot them into other strips of paper. If you struggle with this, you can glue it but slotting it in does work.

TIP >> To make a degrees sign (°), you hold Alt and press 248 on the side keyboard.
Miss Chubby Fingers (MCF)
Links
How to type a degrees sign
Woven Bookmark
Corner Bookmark
No comments:
Post a Comment