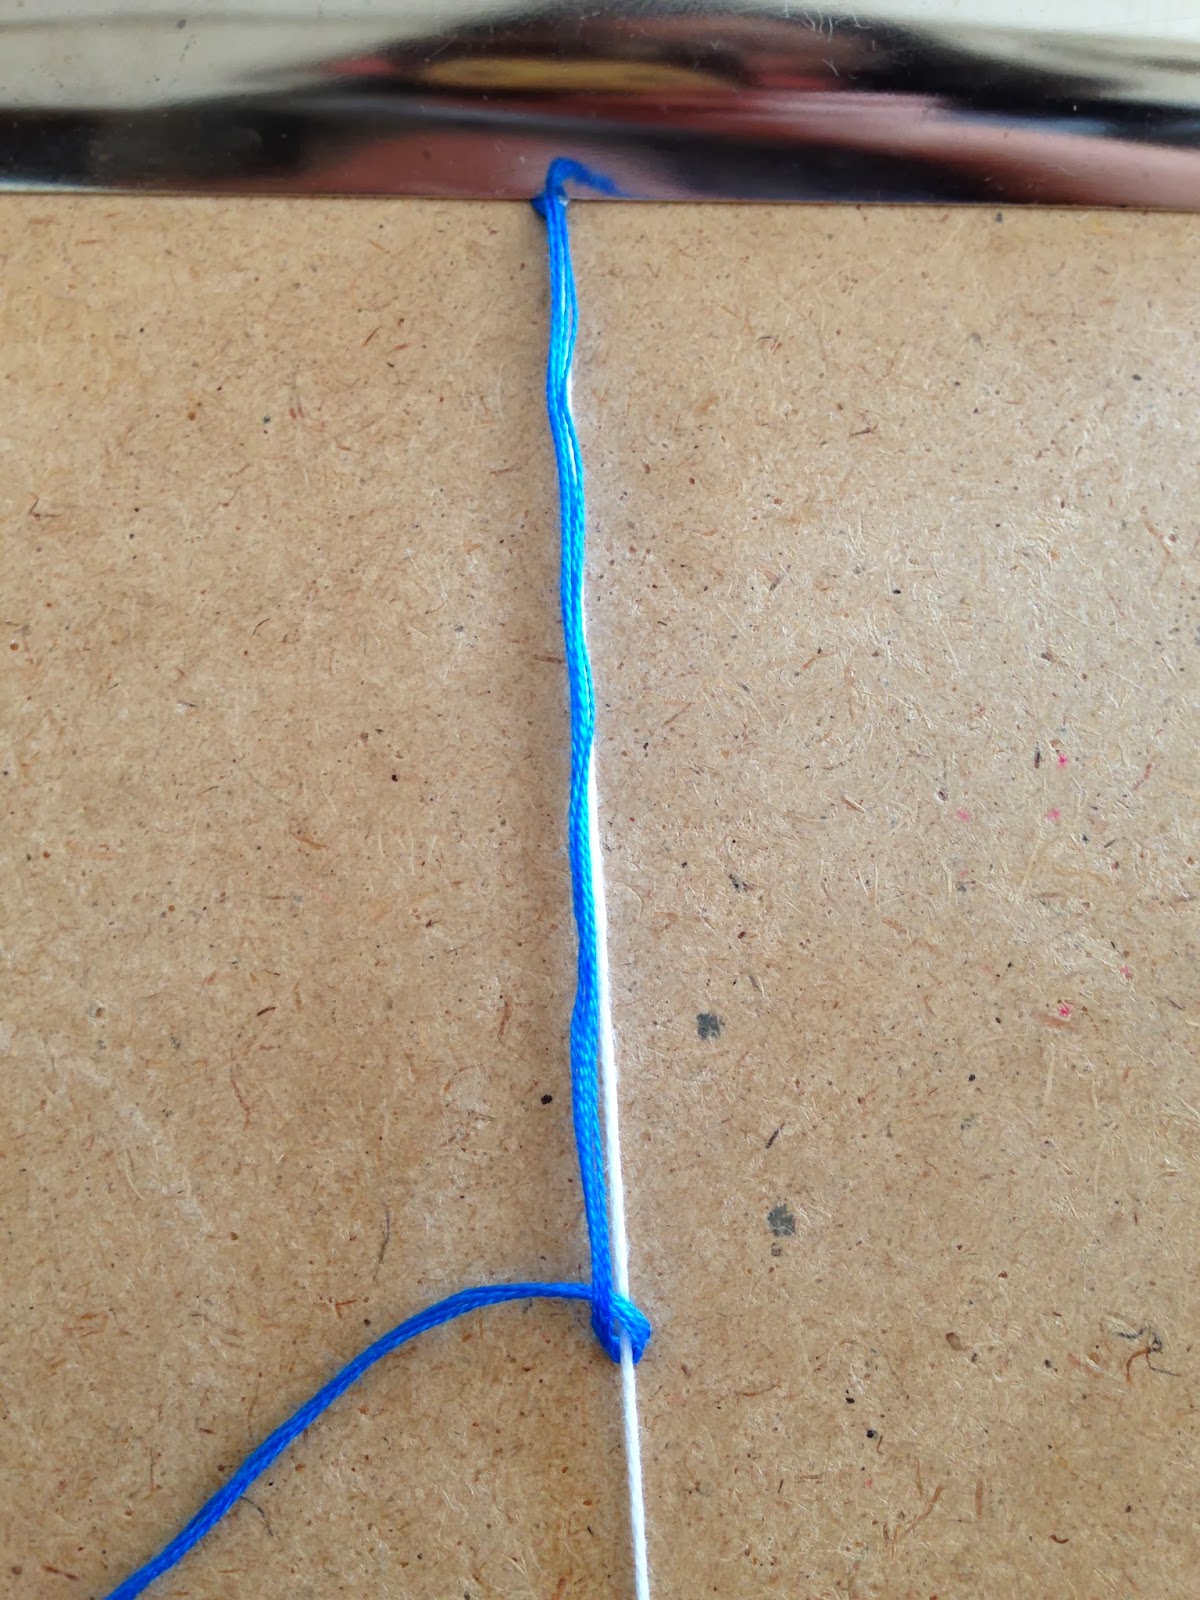
One of the things I have been meaning to show you are the four knots. There are actually five, but they are originally called the four knots.
These are knots that you tie and, if you do them correctly and in the right order, you'll find yourself with a beautiful knotted bracelet! And don't worry, there are only five knots that I'm going to show you today!
Today I am just going to show you the knots and then in the future I will do a tutorial on each individual bracelet.
I am also going to add a 'You Will Need' in case you ever want to practise the knots.
- String or floss in two colours
- A clipboard or tape and a flat surface
- Scissors
The first knot is the overhand knot. This isn't actually one of the four knots but you need it to start and finish knotted bracelets so I included it in. Firstly, you want to make a loop out of you string, using only a small amount from the top.
Then pull the tail through the loop,
And pull tight.
Then put the string in your clipboard or tape down where the knot starts.
The next knot is called the forward knot. It's called the forward knot because it's a forward '4' shape. You get the left-most string and pull it over the string next to it in a four shape.
Then pull the tail into the loop..
And pull tight!
Then repeat this again. Each individual knot needs to have two 'fours' pulled tight.
This is what the forward knot should look like. Notice the white string (the left-most string) is now on the right of the string it was knotted around.
The next knot is the backwards knot. It is the exact same as the forward knot; just the other way round. Make a backwards four..
And pull it up tightly.
Repeat this again.
This is what the backwards knot looks like. Notice the white string is now on the left of the string we knotted it around.
The next knot is the forward-backward knot. To do this, you do half a forward knot and half a backward knot so make a forward four..
And pull up tight.
Then make a backwards four.
And pull up tight!
This is what a forward-backward knot looks like. Notice the leftmost string is till on the left.
Now for the backward-forward knot. All you need to do is half a backwards knot and half a forwards knot. So make a backwards 4..
And pull it up tightly (being different!)
Then make a forward knot..
And pull it up making sure its tight!
This is what a backward-forward knot looks like. As you can see, the blue string is still on the right.
Then finish everything of with another overhand knot, shown at the top.
Hope this was clear and I will be putting on some bracelets in a few weeks. Until then, practise these knots. The overhand, forward and backward knots are the most common and are used very often. The forward-backward and backward forward knots are used, just in more complex patterns.
Miss Chubby Fingers (MCF)


No comments:
Post a Comment